Percy Docs
Documentation
Install Percy In VS Code
Percy runs inside Visual Studio Code, a modern, extensible IDE with support for Python, R, Stata, and Jupyter notebooks. Start by creating an account and starting a free trial, then install VS Code and the Percy extension.
1. Sign in and start a free trial
Ensure that you have an active subscription or free trial on the billing page. You'll be prompted to sign in if you aren't already. When prompted, make sure to sign in with your .edu email.
2. Download Visual Studio Code
Download VS Code
Install the release that matches your operating system, then open VS Code once the installer finishes.
3. Install the Percy extension
Install the Percy extension
After the marketplace page opens, choose Install in VS Code or copy the extension identifier into your editor if you prefer to install it manually.
4. Open Percy in your workspace
Once the extension is installed, open VS Code and look for the Percy lightbulb in the activity bar.
Open a workspace (folder) containing your analysis code. If your data lives elsewhere, you can connect Percy to the data source later by configuring an external data source in the project settings. Sign in when prompted so the extension can connect to your Percy account, and create a Percy project to get started.
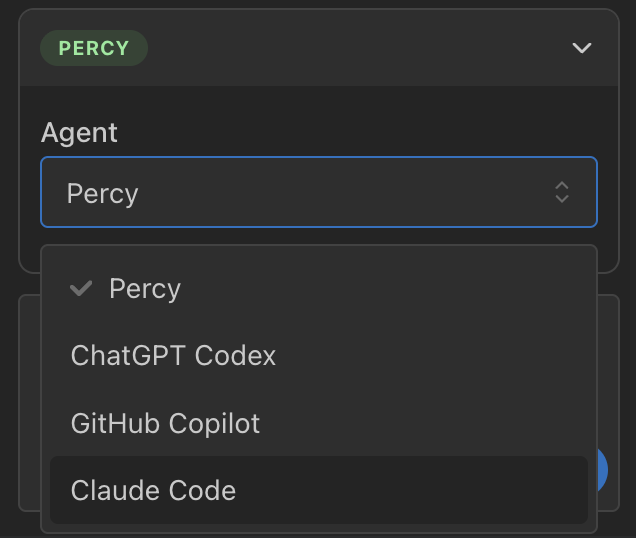
5. (Optional) Connect your existing coding agent
After signing in to Percy in VS Code, you can optionally connect your existing Codex, GitHub Copilot, or Claude Code coding agent subscription by switching the coding agent selector. This allows you to use Percy without consuming any Percy credits.